
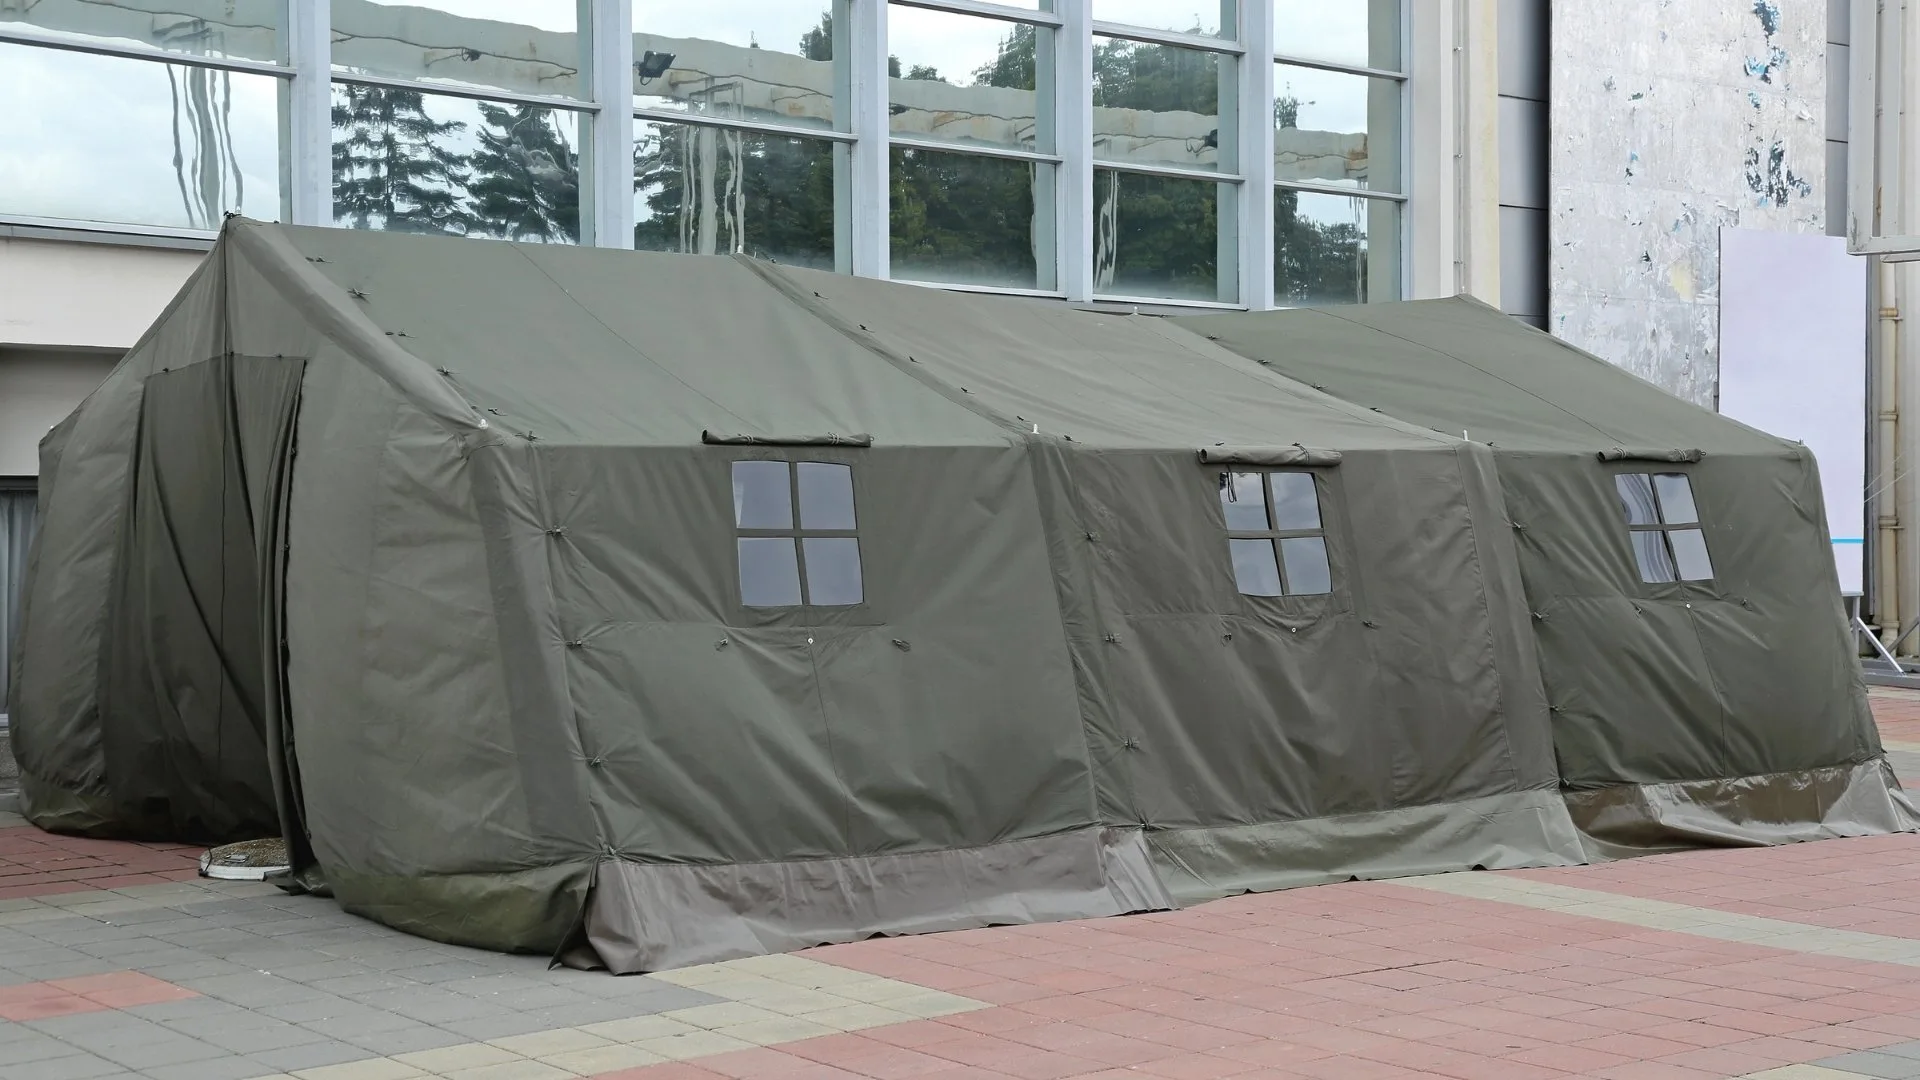
Summarize this article with AI Open a summary of this article in your preferred assistant
In an easy-setup disaster relief tent, look for a frame with few, marked parts, a compact pack, waterproof and UV-resistant PVC-coated fabric, and fixing suited to the site. What really speeds up installation is a ready kit list, a team trained by drills, a level site where water does not collect, and dry, orderly storage.
Two things decide how fast a shelter area goes up after a disaster: a tent that is easy to set up and the preparation done before the disaster. A frame with few marked parts and a compact pack shorten installation. A site chosen in advance, a complete installation kit and a team that has drilled save at least as much time as the tent itself.
What to look for in an easy-setup disaster relief tent
Look at three things: a frame with few marked parts, waterproof and UV-resistant fabric, and the size and weight of the pack.
A frame with few, marked parts
The fewer the parts, the lower the chance of errors and lost parts during installation. If parts are marked by colour or number, even an inexperienced team fits the right part in the right place. Quick-connect fittings reduce the need for tools.
Fabric
For disaster relief tents we prefer waterproof, UV-resistant PVC-coated fabric. Nylon fabric is lighter, but PVC-coated fabric is more durable for long-term shelter and easy to clean. In cold regions, an insulation layer should be considered separately. On request we use DIN 4102 B2 class PVC tarpaulin (normally flammable); the document is available on request.
Pack and transport
The size and weight of the pack decide how many tents fit on a truck or pallet. In purchases by public bodies, pack size and weight are usually requested separately in the technical specification.
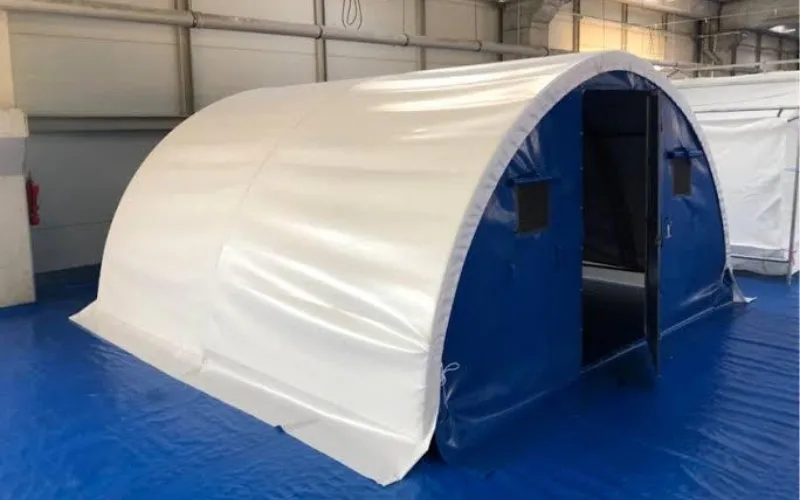
Site preparation: what to do before installation
1. Quick site assessment
- Note the ground type: soil, mud, asphalt, concrete.
- See where rainwater will run, and stay away from places where water collects, such as hollows and stream beds.
- Identify the prevailing wind direction and obstacles such as trees, poles and wire fences.
2. Ground
On soil, clear stones and sharp objects and level the surface. On concrete or asphalt, a groundsheet, pallets or a thin platform reduce the cold and damp coming up from the floor. In areas where many tents will go up, rainwater channels, roads and the distances between tents should be planned before installation.
3. Fixing
Pegs and anchors are chosen to suit the ground. On hard ground where pegs do not hold, fixing with weights is needed. After installation, all connection points and guy ropes should be checked, and checked again after rough weather.
What sets installation speed on the day of the disaster is a complete, orderly kit waiting in the warehouse and a team that has put that kit up before.
Preparations that speed up installation
- Kit list: Every pack should state the parts list, the tools needed and how many people the installation takes.
- Drills: The team should set up and take down the tent at least once before a disaster. A tent set up on site for the first time always takes longer.
- Spare parts: Keeping spare pegs, rope and small fittings makes repairs on site easier.
- Standard packing: Packing tents of the same type in the same way helps you find the right pack quickly in the warehouse.
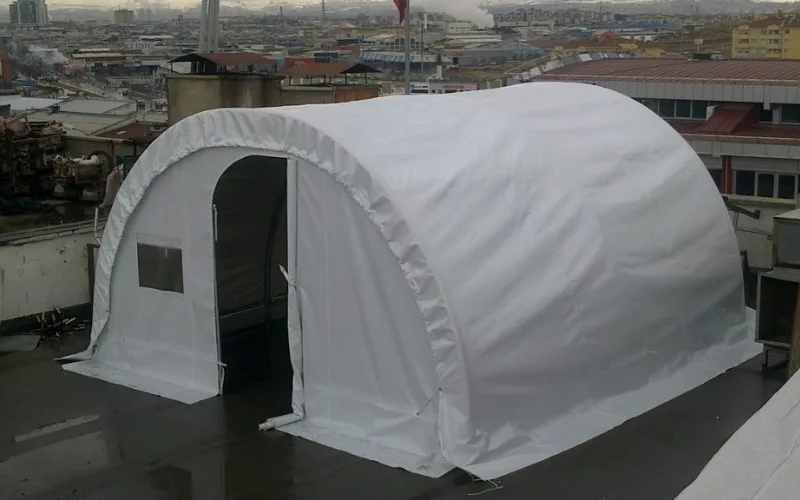
Tent camp layout
Where many tents will stand together, the layout plan matters as much as the installation of a single tent. Draw in advance the gaps between tents that make it harder for fire to spread, the roads that emergency vehicles can use, access to water and toilet points, and shared areas. For these dimensions, follow the guidance of the competent disaster management authority and the local fire brigade.
In cold and wet weather
In disaster relief tents set up in winter, cold coming up from the floor is the most common complaint. A groundsheet, pallets or a platform, and an insulated floor layer, reduce this effect. If a heater is to be used, keep it a safe distance from the tent fabric with ventilation open, and take care against the build-up of combustion products in an enclosed space. Snow that collects on the roof should be cleared regularly.
Specifications in public procurement
In purchases by bodies such as AFAD (Türkiye's Disaster and Emergency Management Authority), Kızılay (the Turkish Red Crescent) and municipalities, the technical specification of that purchase is what counts. When preparing a bid, compare every item in the specification one by one with the fabric data sheet and documents, the frame dimensions and the pack information. Ask for written documents for flammability, waterproofness and strength values.
Storage and maintenance
- Clean the tent after use and do not pack it until it is completely dry.
- Store it in a dry, ventilated warehouse, where it will not be crushed under heavy loads.
- Check the seams, zips and connection points from time to time, and keep the repair kit inside the pack.
You can find our disaster and emergency tent options on the disaster relief tent and emergency and military tents pages. Send us the number you need, the capacity per tent and the specification, if there is one, and we will prepare our quote.